< Back to other topics
< Back to other topics
How to build a Standard battery pack for newer Holfuy main boards (above V6.X).
Please follow and do the steps of this guide only, if your Holfuy Standard weather station has a main board with directly soldered batteries (V2.X, V3.X, V4.X, V5.X), and you would replace it to a newer main (V6.X or newer) board which has a battery connector. If you can't do soldering properly please don't do this guide.
Tools required:
-
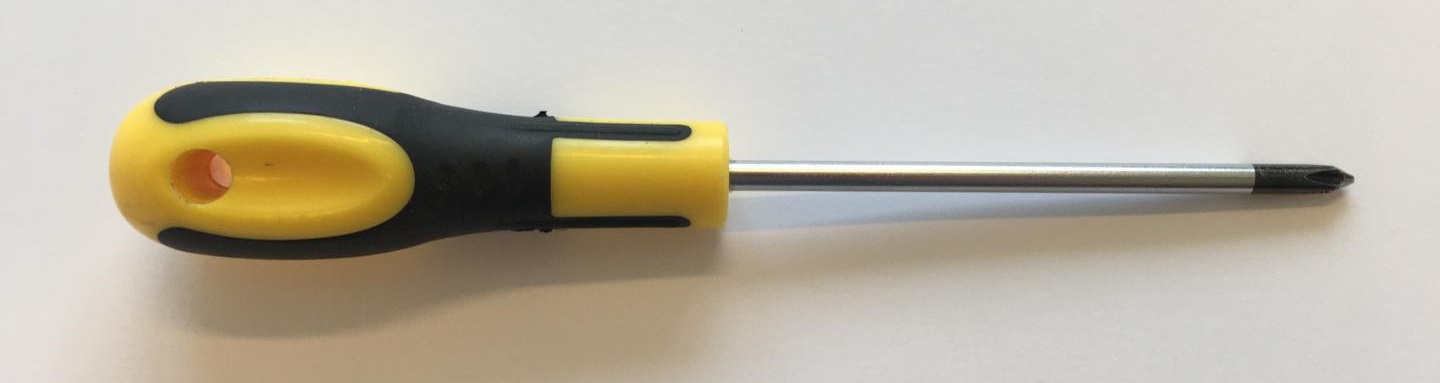
Cross/Phillips (+) screwdriver
-
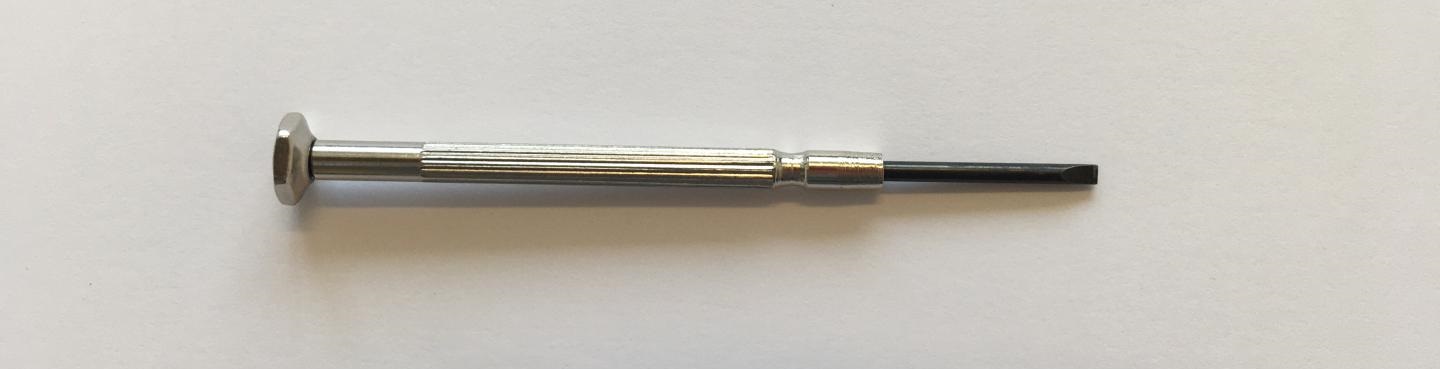
Mini flat-head (-) screwdriver (maximum 2mm wide head) for the green wire terminal of the main board.
-
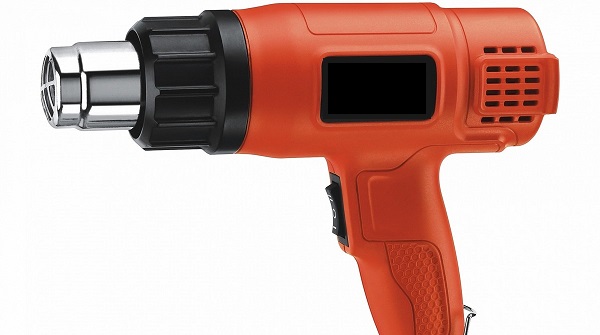
Heat gun
-
Soldering station, tin (soldering skills required!)

-
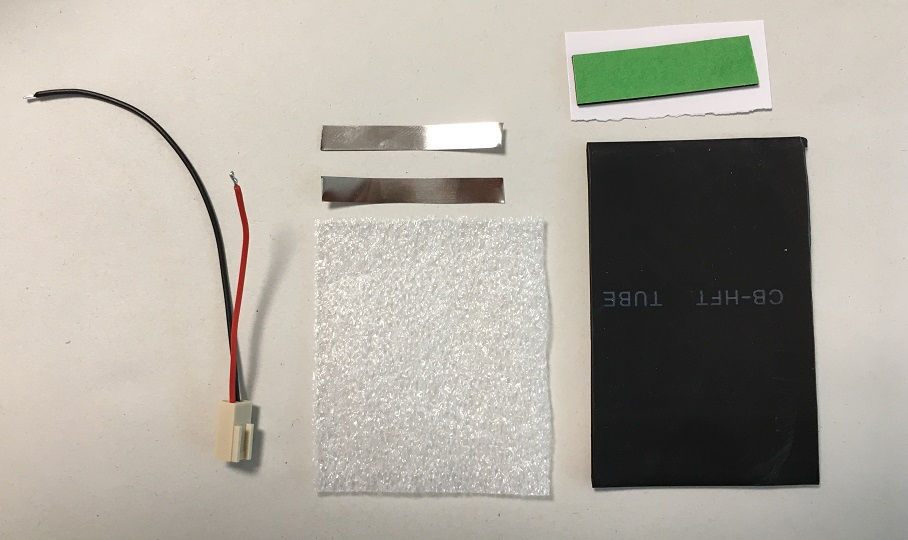
Battery upgrade kit
Steps:
- Open the station's enclosure.
- Turn off your station.
- Disconnect all sensor wires from the screw terminal of the main board.
-
Take out the main board from the enclosure (4 Philips (+) screws are fixing it at the corners). Please take extra care during handling the batteries, if you make a short circuit it can cause serious injuries or fire!
-
Solder off the tags of batteries from the main board and remove them carefully! Please take extra care during handling the batteries, if you make a short circuit it can cause serious injuries or fire!
-
Solder together the battery cells together paralel next to each other tightly in a row with the soldering strips from the battery upgrade kit. Please take extra care during handling the batteries, if you make a short circuit it can cause serious injuries or fire!
-
Solder the battery connector's wires to the strips between the upper two cells. Negative black, positive red.
Please take extra care during handling the batteries, if you make a short circuit it can cause serious injuries or fire!
-
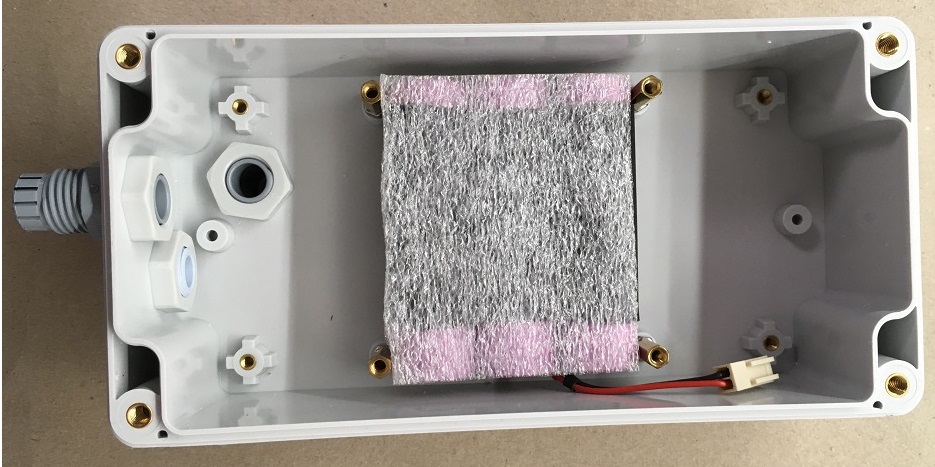
Put the battery pack in the black tube from the battery upgrade kit and shrink it carefully on the batteries with the heat gun.

-
Place the battery pack in the station's enclosure. And stick the self adhesive tape on its top. Please take extra care during handling the batteries, if you make a short circuit it can cause serious injuries or fire!

-
Stick the foam from the battery upgrade kit with the tape.
-
Fix the new main board in the enclosure with the four Philips (+) screws at the corners. The longest screw fixes the communication module also, and between it and the main board you should place the white plastic 11mm spacer tube.

- Connect back all sensor wires to the screw wire terminal in the right order. Pinout in the -manual-
- Connect the battery pack with its white connector to the main board.
- Turn on your station.
-
Close the station's enclosure with extra care on the proper sealing. Please don't forget to plug in the solar cell's red T-connector into the main board.
-
IMPORTANT: Please don't mount the wind or any other sensor to the very top of the pole.
Please follow the other installation guidelines in the -manual-.
< Back to other topics